I was wondering whether the clear plastic/glass panels in a typical Skinner trap were really necessary.
This led to a few experiments, and then to the construction of a simple cardboard moth trap...
...which is probably the cheapest DIY moth trap design imaginable!
background
We find it really interesting to run our trap a few times each month, to get an idea what moth species are visiting our garden.
 |
| Poplar Hawk moth & Elephant Hawk moth |
I have experimented with a couple of designs based upon the Skinner trap, which has a horizontal slit (opening) between two angled panels. The first design used a roller paint bucket (http://captainbodgit.blogspot.com/2020/07/a-simple-moth-trap.html) and the second uses a Really Useful™ Storage Box (http://captainbodgit.blogspot.com/2021/05/moth-trap-mark-ii.html).
The original Skinner trap used two angled glass panels. The question is; does the choice of glass benefit the moths or the user?
simplified construction
For anyone wishing to build their own moth trap, the tricky components to source are the light bulb and the plastic or glass panels. The panels have to be cut fairly accurately to avoid any gaps which could be used as an exit for potential escapees.
So I ran a few tests with my mk2 trap, where I replaced one of the clear plastic sides with a sheet of mount card (i.e. the type of card used to make picture mounts). After running the trap for a few nights, I concluded that the total number of moths trapped was similar with plastic or card panels.
This led me to making a rather crude trap from a fairly stout cardboard box, which is about 500mm x 400mm x 330mm deep.
The first step was to make two panel supports, bend them into shape, and stick them to the inside of the box, about 120mm up from the bottom.

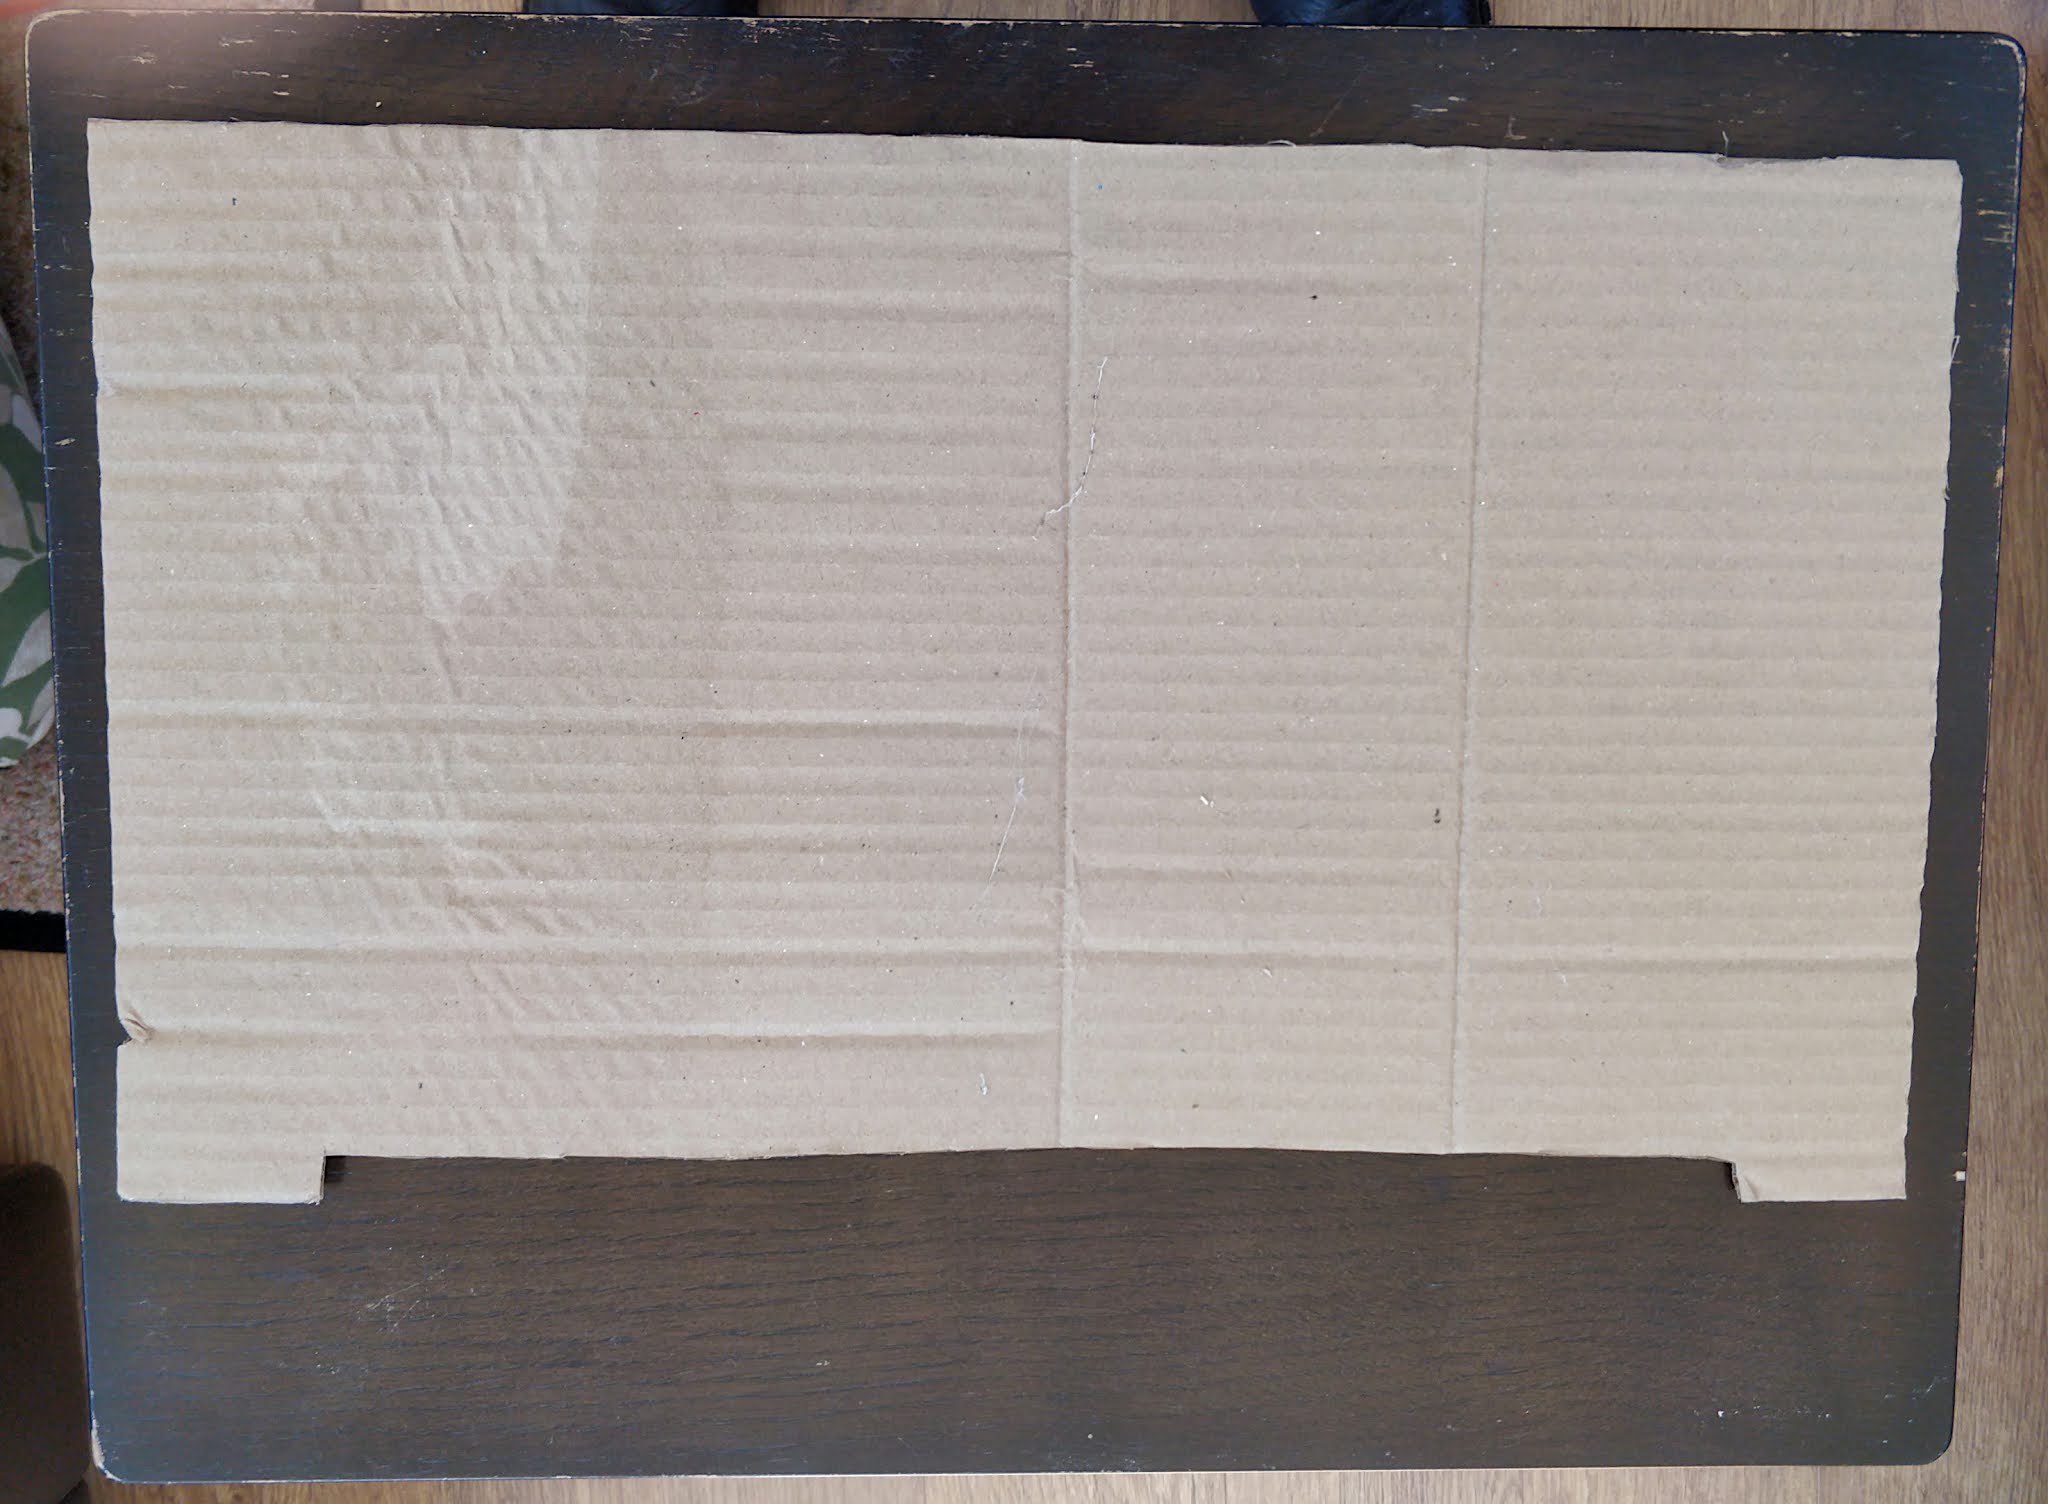
Then I cut a couple cardboard side panels with a small recess (maybe 12mm)...
I loaded a few egg-boxes for the moths to settle...

...closed the long side flaps (these provide extra support) and fitted the side panels...

The final step is to add a light. As my existing trap has a bulb on a batten, I folded the box end flaps and just laid this on top...

However, if I was building the trap from scratch, I'd get a pendant lamp holder, rather than the batten holder shown above. This could then be attached by cutting a circular hole in the side of the box. I'd probably fold the end-flap over on the outside and cut the hole through that as well, to give the bulb extra support.
Obviously cardboard is not weather-proof. However, I never put our trap out on nights where there is a chance of rain. But if the cardboard does suffer water damage, its easily replaced!
Let there be light!
This moth trap needs a suitable light, as discussed in this earlier post: http://captainbodgit.blogspot.com/2020/07/a-simple-moth-trap.html
In the UK this bulb is available from TLC for about £10, and TLC now stock a 13W version for less than £5, which should also be suitable.
You may need to buy a mains plug, short length of mains cable and an Edison Screw (ES) lamp holder, unless you already have these items in your junk-box.
does it work?
Of course it works! On the first night of use, our captured moths included the two Hawk Moths illustrated in the photo at the start of this post. Over two nights, the average moth count was about 25 moths/night.
I suspect that the number of moths trapped may depend upon the range of the emitted light (e.g. power and positioning). So my next step will be to position the bulb vertically, rather than horizontally as it is currently.
Maybe painting the side panels with bright white paint would help to reflect the light upwards.
I've also tried using a slot baffle...

...which sits over the slot, while still allowing entry from each side.
This should be beneficial, but I can't say for certain that it increases the number of moths trapped (...e.g. by reducing the number of escapees) because the number of trapped moths varies quite a bit from night-to-night, so comparisons can be difficult.
No comments:
Post a Comment