Earlier this year we refurbished our kitchen & utility room.
With a new layout, new floor, new sink, a mixture of new cabinet doors and a few completely new kitchen cabinets, we are happy with the end result.
However, the choice of red splashbacks meant we also needed a new enclosure for our internet radio: KitchenPi.
We found a company relatively local to us called CutMyPlastic who were able to supply acrylic cut to our requirements. For the splashbacks behind the sink and our electric hob we selected a 5mm clear acrylic with a red backing.
 |
| Acrylic is a safe choice if you have an electric hob, but don't try to use it with a gas hob. |
 |
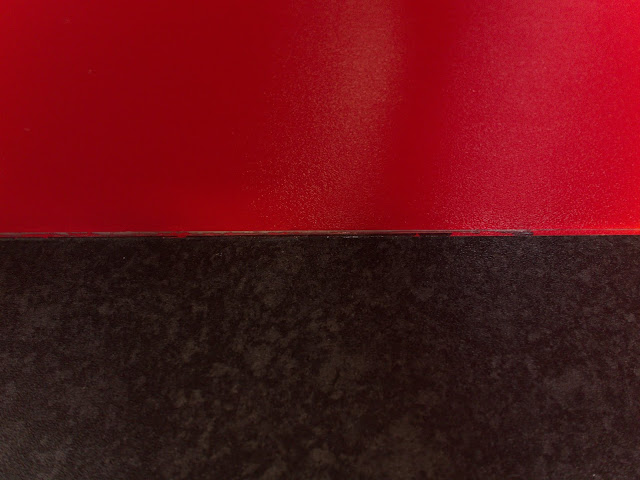
| Taking a photo of a splashback is tricky because its so difficult to control the reflections |
For each splashback I provided a detailed dimensioned drawing. The cutouts for electrical switches and sockets are made the same size as the plaster boxes, so that the sockets overlap the acrylic when screwed back into place after the splashback is fitted.
One issue I had was with the actual size of these splashbacks. I hadn't considered the cutting tolerance. Although this is only 0.2%, this equates to +/-4mm for a 2m length. I was hoping for a good fit into (what is effectively) a recess. When I measured the delivered splashbacks, there were about 1.5mm larger than expected.
I had to carefully slide the first piece of arcylic around a decor panel, sink and behind the tap to establish where I needing to 'adjust' the size.
I started out with sandpaper and a file, but this proved to be painfully slow. So I fitted a sand wheel to my Dremel and carefully trimmed the edges.
In hindsight, I should have taken down the wall-mounted kitchen cabinets. It would have been easier in the long run. Also, I could have used larger splashbacks which would 'disappear' behind the cabinets rather than leaving a visible edge.
Once I was happy that the splashbacks fitted the space, I applied CT1 adhesive in a series of wavy lines.
I also created a bead along the work-surface for each splashback to 'sit on'.
This clear acrylic with a red backing does look more like glass than a solid red does, but there is one issue to consider. If you stand in the wrong place and look down at it, you can see through the clear edges.
I've been told by my wife to stop worrying about it...no one else sees it! But you might want to consider fitting an edge strip or select a solid colour if this worries you.
We had another area which needed covering to conceal a couple of water pipes and mains cables. For this I selected a piece of 3mm thick solid white acrylic. It looks great and so much easier than cutting a piece of wood to fit and then painting it.
...but KitchenPi is blue!
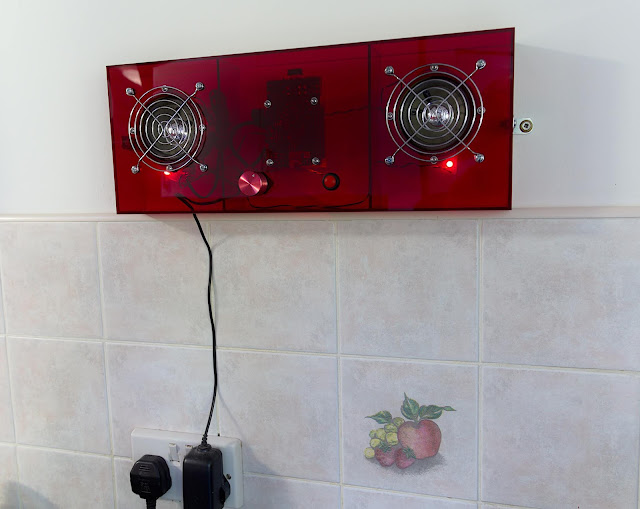
My internet kitchen radio 'KitchenPi' has a blue acrylic case and was originally designed to fit under a kitchen cabinet. So I ordered a 3mm sheet of translucent red acrylic and set about cutting it; face panel, top, bottom & side pieces.
The only way I have to cut this is using a cutter to scribe lines and then snapping the acrylic. This worked OK when I made the original blue enclosure, but I wasn't so lucky with this red stuff. The 4th piece didn't cut along the line, and then it went from bad to worse.
Only then did I decide to order pre-cut pieces, and I even got them to cut-out the speaker holes.
 |
| strong hard plastic glue for the case & 5% IPA to stop the shakes! |
I also had to tidy up the design as I could no longer mount the radio under a cabinet, as we had decided not to fit pelmets to the new cabinets. Since the radio would now be fully visible, it needed to look a bit smarter!
The changes are quite small, but include the use of hex head screws, wall brackets, and the centering of Raspberry Pi and its daughter board to keep the fixing screws centered. I've added two vertical 'dividers' to stiffen the enclosure, which in effect isolates each speaker, forming individual speaker boxes.
I've also added another led which operates from a GPIO output, and modified the Python software to suit. When the station button is pressed, the led lights and remains lit until the operation of announcing the station completes and the switch debounce period has expired.
I may have to spend a bit more time tidying the wiring, as it is more visible through the new red case than it was with the blue case.


Steve - your workbench is as cluttered as mine !
ReplyDeleteHow very dare you?
DeleteI'll have you know I cleared away several empty beer bottles, an apple core, and a stale slice of Hawaiian pizza, just to make it nice 'n tidy for that photo!